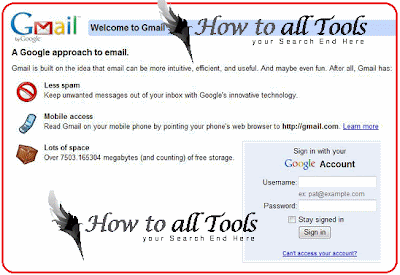
You must create a gmail account to use this particular blog site. If you do not have a gmail account, sign up for free at gmail.com.
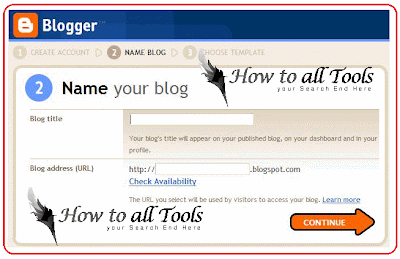
Choose a title (i.e. Miss Smith 3rd Grade Homework) and URL address. The address will be the website link you give to your readers. Example: http://howtoalltools.blogspot.com/
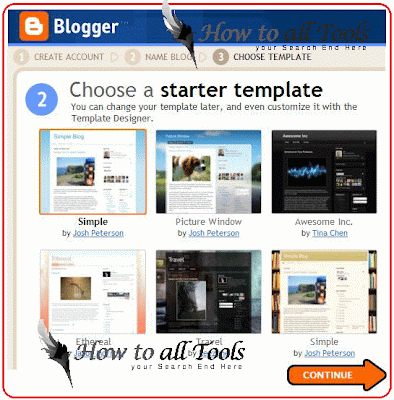
Choose a template background for your blog. Click on the image you prefer, and then click Continue.
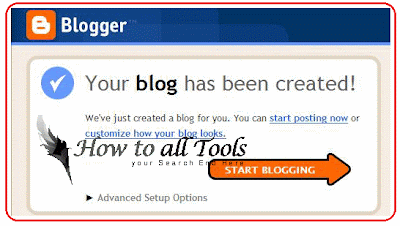
Your blog website has been created! Click Start Blogging or Continue :
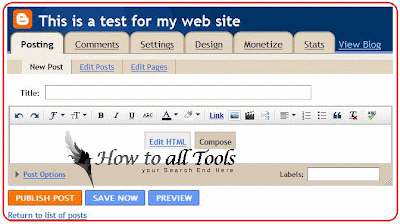
Time to post. Click here for specific instructions on how to write a blog posting. When you create a post, enter in a Blog Title and the body of your entry. It will automatically be dated and time stamped. You can click "Preview" to see what your blog will look like before you finalize it. When you are ready to make the blog public, click "Publish Post." If you're not ready to publish the blog just yet, you can click "Save Now" to publish later. You can edit a post at any time by clicking the "Edit Posts" tab. Students and parents can post comments to each blog entry.
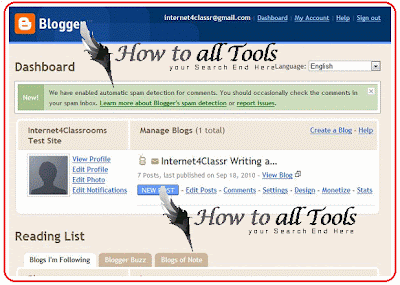
The Extras - Settings and Dashboard - When you feel comfortable writing and posting blogs, you can manage your settings regarding security, publishing features, etc. The Dashboard controls your account, allowing you to change your profile and view multiple blogs if you have them. This is the homepage where you can add new posts by clicking "New Post" as well as click "Edit Posts" to view and change any existing blog you may have started.
Your blog website has been created! Start Blogging enjoy. Always Comment and Subscribe and share with others
- Whenur gmail id is set, go to http://www.blogger.com to create a blog for your classroom.
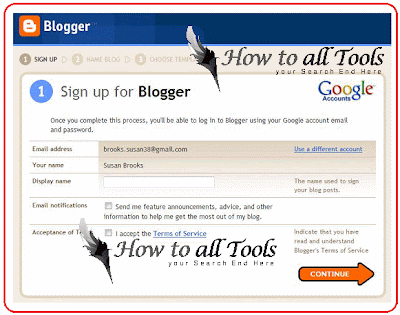
- Sign in With your new Gmail Id and password.
Choose a title (i.e. Miss Smith 3rd Grade Homework) and URL address. The address will be the website link you give to your readers. Example: http://howtoalltools.blogspot.com/
Choose a template background for your blog. Click on the image you prefer, and then click Continue.
Your blog website has been created! Click Start Blogging or Continue :
Time to post. Click here for specific instructions on how to write a blog posting. When you create a post, enter in a Blog Title and the body of your entry. It will automatically be dated and time stamped. You can click "Preview" to see what your blog will look like before you finalize it. When you are ready to make the blog public, click "Publish Post." If you're not ready to publish the blog just yet, you can click "Save Now" to publish later. You can edit a post at any time by clicking the "Edit Posts" tab. Students and parents can post comments to each blog entry.
The Extras - Settings and Dashboard - When you feel comfortable writing and posting blogs, you can manage your settings regarding security, publishing features, etc. The Dashboard controls your account, allowing you to change your profile and view multiple blogs if you have them. This is the homepage where you can add new posts by clicking "New Post" as well as click "Edit Posts" to view and change any existing blog you may have started.
Your blog website has been created! Start Blogging enjoy. Always Comment and Subscribe and share with others

No comments:
Post a Comment